
The journal
What is the best way to distribute weight in a backpack?
Keep dense, heavy items close to your back and centered; let your hip belt carry most of the load; compress the pack and do a short test walk to eliminate sway.
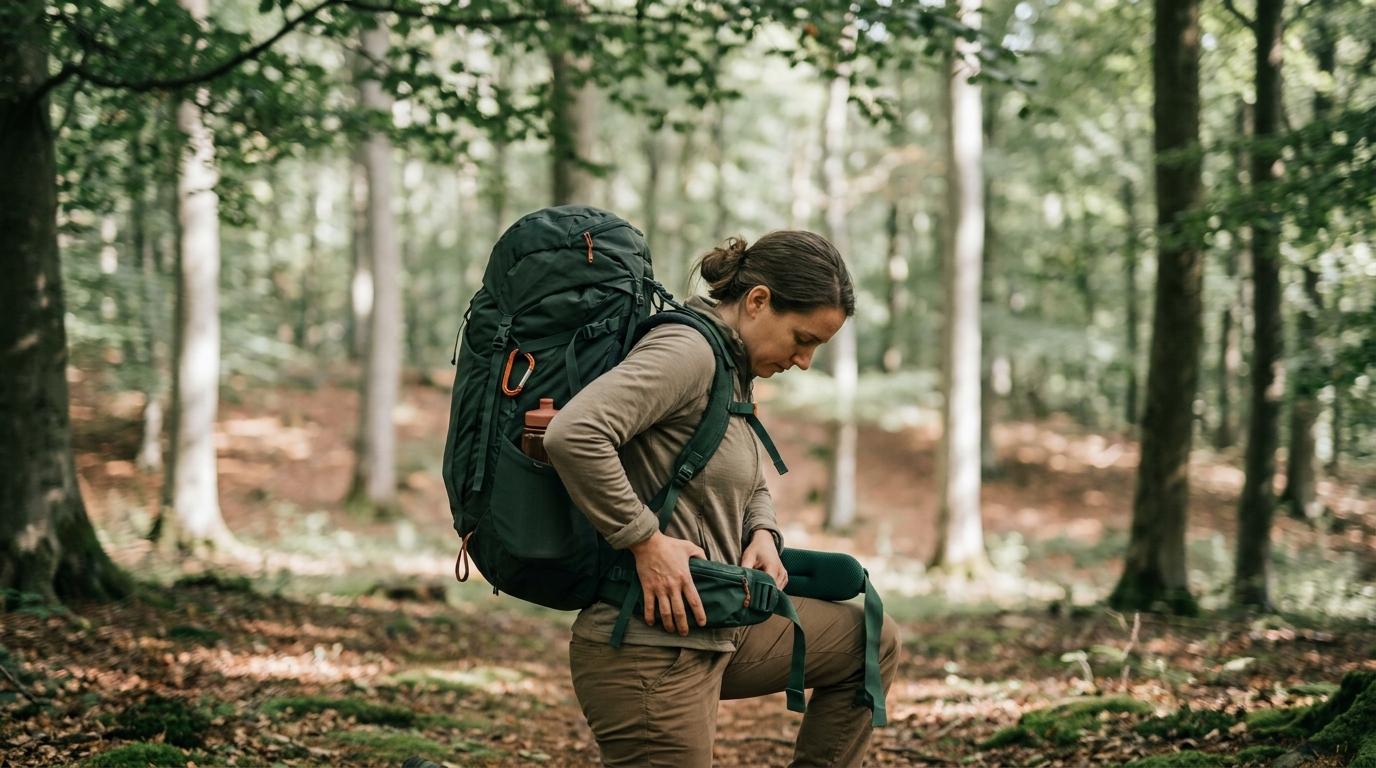
The best way to distribute weight in a backpack is to place dense, heavy items high and close to your spine, fit the hip belt so your hips carry most of the load, and cinch compression and load-lifter straps to keep the pack stable. This setup aligns the pack’s center of gravity with yours and reduces shoulder strain (Trekology).
Core principle and simple layout
Think in zones: light and bulky at the bottom, heaviest items in the middle against your back, and light, frequently used items up top. Following this pattern creates a tall, stable column that moves with you, not against you (Trekology).
- Bottom: bulky but light items (for example, a sleeping bag) to form a base without dragging your center of gravity down (Trekology).
- Core (against your back): your densest gear like food, water reservoir, stove, and any bear canister.
- Top/lid: quick-access but light items (rain jacket, first aid, headlamp) to avoid top-heaviness (Trekology).
Step-by-step: pack and fit for comfort
- Start loose. Loosen all straps so you can dial the fit precisely on your back (Trekology).
- Load the zones. Place light-bulky items at the bottom, then pack the heaviest items centered and tight against the back panel. Fill remaining gaps with medium and light gear.
- Hip belt first. Position padding over your hip bones and snug it so your hips take the load. Your shoulders should stabilize, not carry most of the weight (Trekology).
- Then shoulder straps. Pull them just firm enough to bring the pack close without loading the tops of your shoulders.
- Set load lifters. Tension so they sit around a 45-degree angle to draw the load toward your upper back (Trekology).
- Finish with the sternum strap for stability that doesn’t restrict breathing.
- Compress the pack. Tighten side and top compression straps so contents move as one solid block (Trekology).
Do a short loaded walk in similar terrain before your trip and adjust where needed; practicing this routine improves stability and comfort (Hillsound).
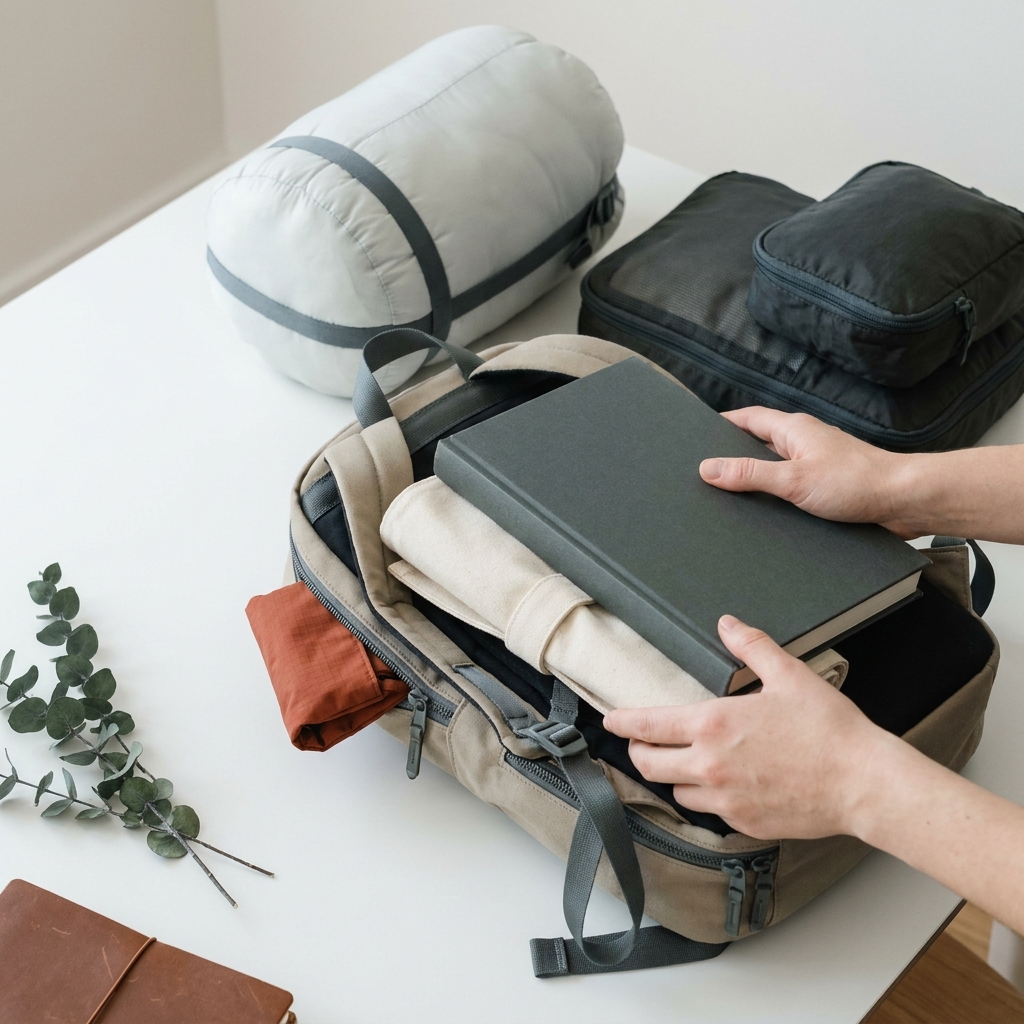
Where to put common items
- Water: A hydration reservoir sits flush to your spine and keeps weight centered; a full 3-liter bladder is over 6 lb, so keep it close to your back. If you prefer bottles, split them left-right to avoid lopsided pull (Trekology; Hillsound).
- Sleeping bag and extra layers: bottom compartment or lowest part of the main tube; they’re light but bulky and make a good base (Trekology).
- Food, stove, fuel: core zone, tight against the back panel to keep your center of gravity aligned (Trekology).
- Bear canister (where required): centered vertically in the core, pressed to your spine; pack soft items around it so it cannot shift (Trekology).
- Tent: ideally inside; if carried outside, keep it vertical and close to the pack body rather than perched on the very top or bottom. Balance poles along the back or in a side pocket (Trekology).
Your exact layout can vary by pack type and terrain; for example, flatter routes or external-frame packs may tolerate slightly different vertical placement. Test and adjust what works best for your conditions (Hillsound).
Avoid these common packing mistakes
- Top-heavy wobble: loading dense items in the lid makes the pack unstable. Keep heavy gear in the core against your spine (Trekology).
- Low-slung sag: placing heavy items at the very bottom drags you backward and strains your lower back. Elevate them to mid-back (Trekology).
- Dangling gear: items swinging outside create a pendulum effect that wastes energy. Stow and compress everything tightly (Trekology).
Fine-tune on the move
Expect to make small adjustments after 10-15 minutes. If the pack sways, tighten side compression. If shoulders ache, snug the hip belt and slightly loosen shoulder straps. If the top pulls away from you, add a touch more load lifter tension. A short shakedown walk before the trip helps you learn these quick fixes (Trekology; Hillsound).
Quick pack-balance check before you go
Weigh your pack at home
It’s easier to pack well when you also keep total weight in check. If you don’t own a luggage scale, try these home methods to weigh your packed backpack: Use a human scale to weigh luggage and check weight without a scale.
Frequently asked questions
How tight should the hip belt be?
Snug enough over your hip bones to carry most of the weight, with shoulder straps firm but not bearing the load. Adjust in sequence: hip belt, shoulder straps, load lifters (about 45 degrees), then sternum strap (Trekology).

Related guides
Product options for this topic
As an Amazon Associate I earn from qualifying purchases. These are researched options, not hands-on test results. Check the exact size or model, current price and availability on Amazon.
| Product option | Fit and limits to check | Retailer |
|---|---|---|
| Osprey Farpoint 40, Tunnel Vision Grey | A travel-pack candidate for carrying your own luggage between transfers. Check harness fit and packed dimensions against every segment’s allowance. | View on Amazon |
| Etekcity digital luggage scale | A handheld check before leaving for the airport. Leave a margin below the airline limit because scales and baggage rules can differ. | View on Amazon |